Creating Animated Rings with React Native Reanimated

Introduction
Reanimated adds super powers to any React Native application that needs animations. Although this specific animation could be accomplished with Animated supplied by React Native. We will use Reanimated to accomplish animated rings. These rings will animate 100% natively, so you won't have to worry about performance.
Ring Styles
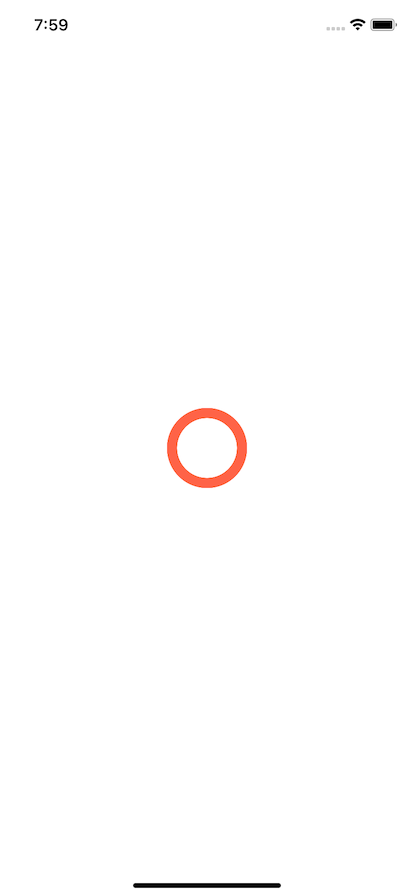
First lets setup our ring. We will use the Animated.View supplied by Reanimated because we know it's going to need to animate even though at the moment we're just supplying it a basic style. We will position our ring absolutely, and then craft it into a circle with borderRadius. Here is where you can control the thickness of the starting ring.
import Animated from "react-native-reanimated";

const Ring = ({ delay }) => {
  return <Animated.View style={[styles.ring]} />;
};

const styles = StyleSheet.create({
  ring: {
    position: "absolute",
    width: 80,
    height: 80,
    borderRadius: 40,
    borderColor: "tomato",
    borderWidth: 10,
  },
});
Rendering Multiple Rings
Now that we have a basic ring concept lets render them in our app. In order to stagger our rings we will need to render multiple, and offset their start. We supply a delay as a prop. If you want to make the rings closer together then ou would reduce the delay.
However the maximum ring count without overlapping will depend on the length of the animation. So in our case here we can render 4 rings and thus make the animation 4 seconds long and never have a ring overlapping.
export default function AnimatedRingExample() {
  return (
    <View
      style={{
        flex: 1,
        alignItems: "center",
        justifyContent: "center",
        flexDirection: "column",
      }}
    >
      <Ring delay={0} />
      <Ring delay={1000} />
      <Ring delay={2000} />
      <Ring delay={3000} />
    </View>
  );
}
Create our Animated Style
Firs thing we need to do is create a shared value. We will use the useSharedValue hook to create a value that can be used to track the progress of our animation. We can leverage the 0 - 1 that we are animating to control other animations and keep everything in sync.
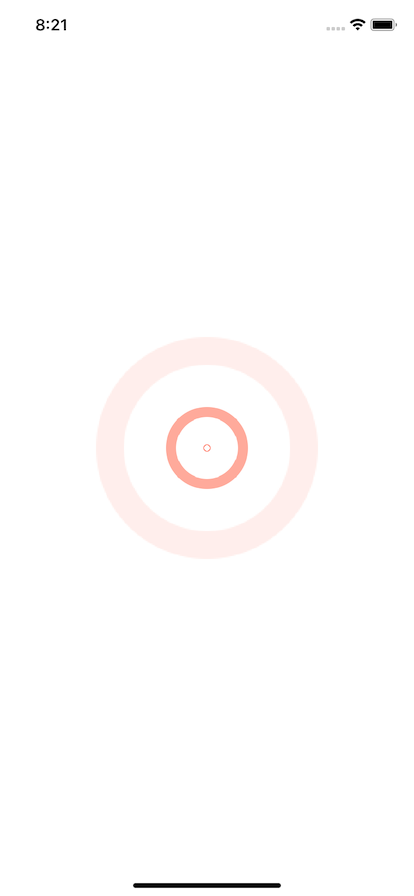
Then with our useAnimatedStyle we will create a style that leverages the shared value we created to craft our animated effect. So in our case we start with the ring opacity .8 and slowly subtract as we animate to 1. What this will do is cause our ring to slowly fade.
While it's fading we will always make it get larger. We can take advantage of interpolation here so we can use the same shared value for animating. We can take the shared value that will be between 0 and 1 and specify an outputRange of 0 to 4.
Meaning when our ring shared value starts at 0 the rings initial scale will be 0 and thus not capable of being seen. As it grows from 0 to 1 the interpolation will scale it accordingly to match the output range.
So when ring is at .25, the scale is going to be 1. Next at .5 the rings scale will be 2 thus double the normal size, and so on until it hits 4. By the time it hits 4 it will be completely faded and gone.
const ring = useSharedValue(0);

const ringStyle = useAnimatedStyle(() => {
  return {
    opacity: 0.8 - ring.value,
    transform: [
      {
        scale: interpolate(ring.value, [0, 1], [0, 4]),
      },
    ],
  };
});
Executing our Animation
To kick off our animation we use a useEffect that will run once because it has an empty dependency array.
We wrap our animation call in a withDelay because you cannot yet put a delay inside of a withRepeat. Then we set the duration that we want our ring to animate for, and that is a timing animation for 4 seconds (4000 milliseconds).
The withRepeat takes an amount of time to repeat so we set it to -1 to indicate to repeat forever, then the final param is if we want it to go in reverse. So it animates from 0 to 1, then back from 1 to 0. Setting this value to false resets it to 0 and restarts the animation.
First we'll delay the appropriate amount of time that was passed in from above, and then start repeating our animation for 4 seconds before resetting to 0 and going again. Thus creating our infinitely expanding rings.
useEffect(() => {
  ring.value = withDelay(
    delay,
    withRepeat(
      withTiming(1, {
        duration: 4000,
      }),
      -1,
      false
    )
  );
}, []);
Final Code
import React, { useEffect } from "react";
import { StyleSheet, View } from "react-native";
import Animated, {
  useAnimatedStyle,
  useSharedValue,
  withDelay,
  withRepeat,
  withTiming,
  interpolate,
} from "react-native-reanimated";

const Ring = ({ delay }) => {
  const ring = useSharedValue(0);

  const ringStyle = useAnimatedStyle(() => {
    return {
      opacity: 0.8 - ring.value,
      transform: [
        {
          scale: interpolate(ring.value, [0, 1], [0, 4]),
        },
      ],
    };
  });
  useEffect(() => {
    ring.value = withDelay(
      delay,
      withRepeat(
        withTiming(1, {
          duration: 4000,
        }),
        -1,
        false
      )
    );
  }, []);
  return <Animated.View style={[styles.ring, ringStyle]} />;
};

export default function AnimatedRingExample() {
  return (
    <View
      style={{
        flex: 1,
        alignItems: "center",
        justifyContent: "center",
        flexDirection: "column",
      }}
    >
      <Ring delay={0} />
      <Ring delay={1000} />
      <Ring delay={2000} />
      <Ring delay={3000} />
    </View>
  );
}

const styles = StyleSheet.create({
  ring: {
    position: "absolute",
    width: 80,
    height: 80,
    borderRadius: 40,
    borderColor: "tomato",
    borderWidth: 10,
  },
});