Getting Started with Hasura Locally

Introduction to Hasura
Hasura is an automatic GraphQL engine for Postgres with built in role base access control. It not only creates an instant GraphQL API for querying, and all other CRUD operations it provides subscriptions out of the box. So imagine it as a Firebase backed by Postgres, GraphQL, and you maintain control of your data!
You don’t have to only use Hasura, you can utilize it for some or all of your data needs. Meaning you can gradually migrate as much of your code to leverage Hasura as you need.
Docker Install
To make setup a breeze we will leverage Docker. Docker will be used to spin up both Hasura and Postgres inside of a virtualized environment.
To install Docker find the Docker install for your system here https://www.docker.com/products/docker-desktop
Hasura CLI Install
Another necessary piece of Hasura will be the Hasura CLI. This will allow you to access the Hasura Console which is a visual view of your Hasura setup as well as your database. It allows you to build and test queries and mutations, view your data, edit tables, and configure all the features Hasura offers.
https://hasura.io/docs/1.0/graphql/core/hasura-cli/install-hasura-cli.html#install-hasura-cli
Docker Compose
You’ll want grab the example docker-compose from the install manifests provided by Hasura. https://github.com/hasura/graphql-engine/blob/stable/install-manifests/docker-compose/docker-compose.yaml
Save this to your computer locally in your project directory as docker-compose.yaml
version: '3.6'
services:
  postgres:
    image: postgres:12
    restart: always
    volumes:
    - db_data:/var/lib/postgresql/data
    environment:
      POSTGRES_PASSWORD: postgrespassword
  graphql-engine:
    image: hasura/graphql-engine:v1.3.2
    ports:
    - "8080:8080"
    depends_on:
    - "postgres"
    restart: always
    environment:
      HASURA_GRAPHQL_DATABASE_URL: postgres://postgres:postgrespassword@postgres:5432/postgres
      ## enable the console served by server
      HASURA_GRAPHQL_ENABLE_CONSOLE: "true" # set to "false" to disable console
      ## enable debugging mode. It is recommended to disable this in production
      HASURA_GRAPHQL_DEV_MODE: "true"
      HASURA_GRAPHQL_ENABLED_LOG_TYPES: startup, http-log, webhook-log, websocket-log, query-log
      HASURA_GRAPHQL_ADMIN_SECRET: admin_secret
volumes:
  db_data:
The one change I make is to uncomment the HASURA_GRAPHQL_ADMIN_SECRET line. It ensures that your Hasura engine is protected, so you can simulate what production will be like.
HASURA_GRAPHQL_ADMIN_SECRET: admin_secret;
Setup a Project
Now that you have this saved we’ll need to use the Hasura CLI to init a new project. Run hasura init and it will setup a new project for you. In the hasura directory that it sets up be sure and edit the config.yml to look this below. The main thing is adding the admin_secret to your config.
version: 2
endpoint: http://localhost:8080
admin_secret: admin_secret
metadata_directory: metadata
actions:
  kind: synchronous
  handler_webhook_baseurl: http://localhost:3000
The benefits of this are that now when we want to run our hasura console command we don’t need to add the admin secret to the end of the command.
Now with our hasura project initiated run docker compose file by running docker-compose up -d in the directory that your docker-compose.yaml file is in.
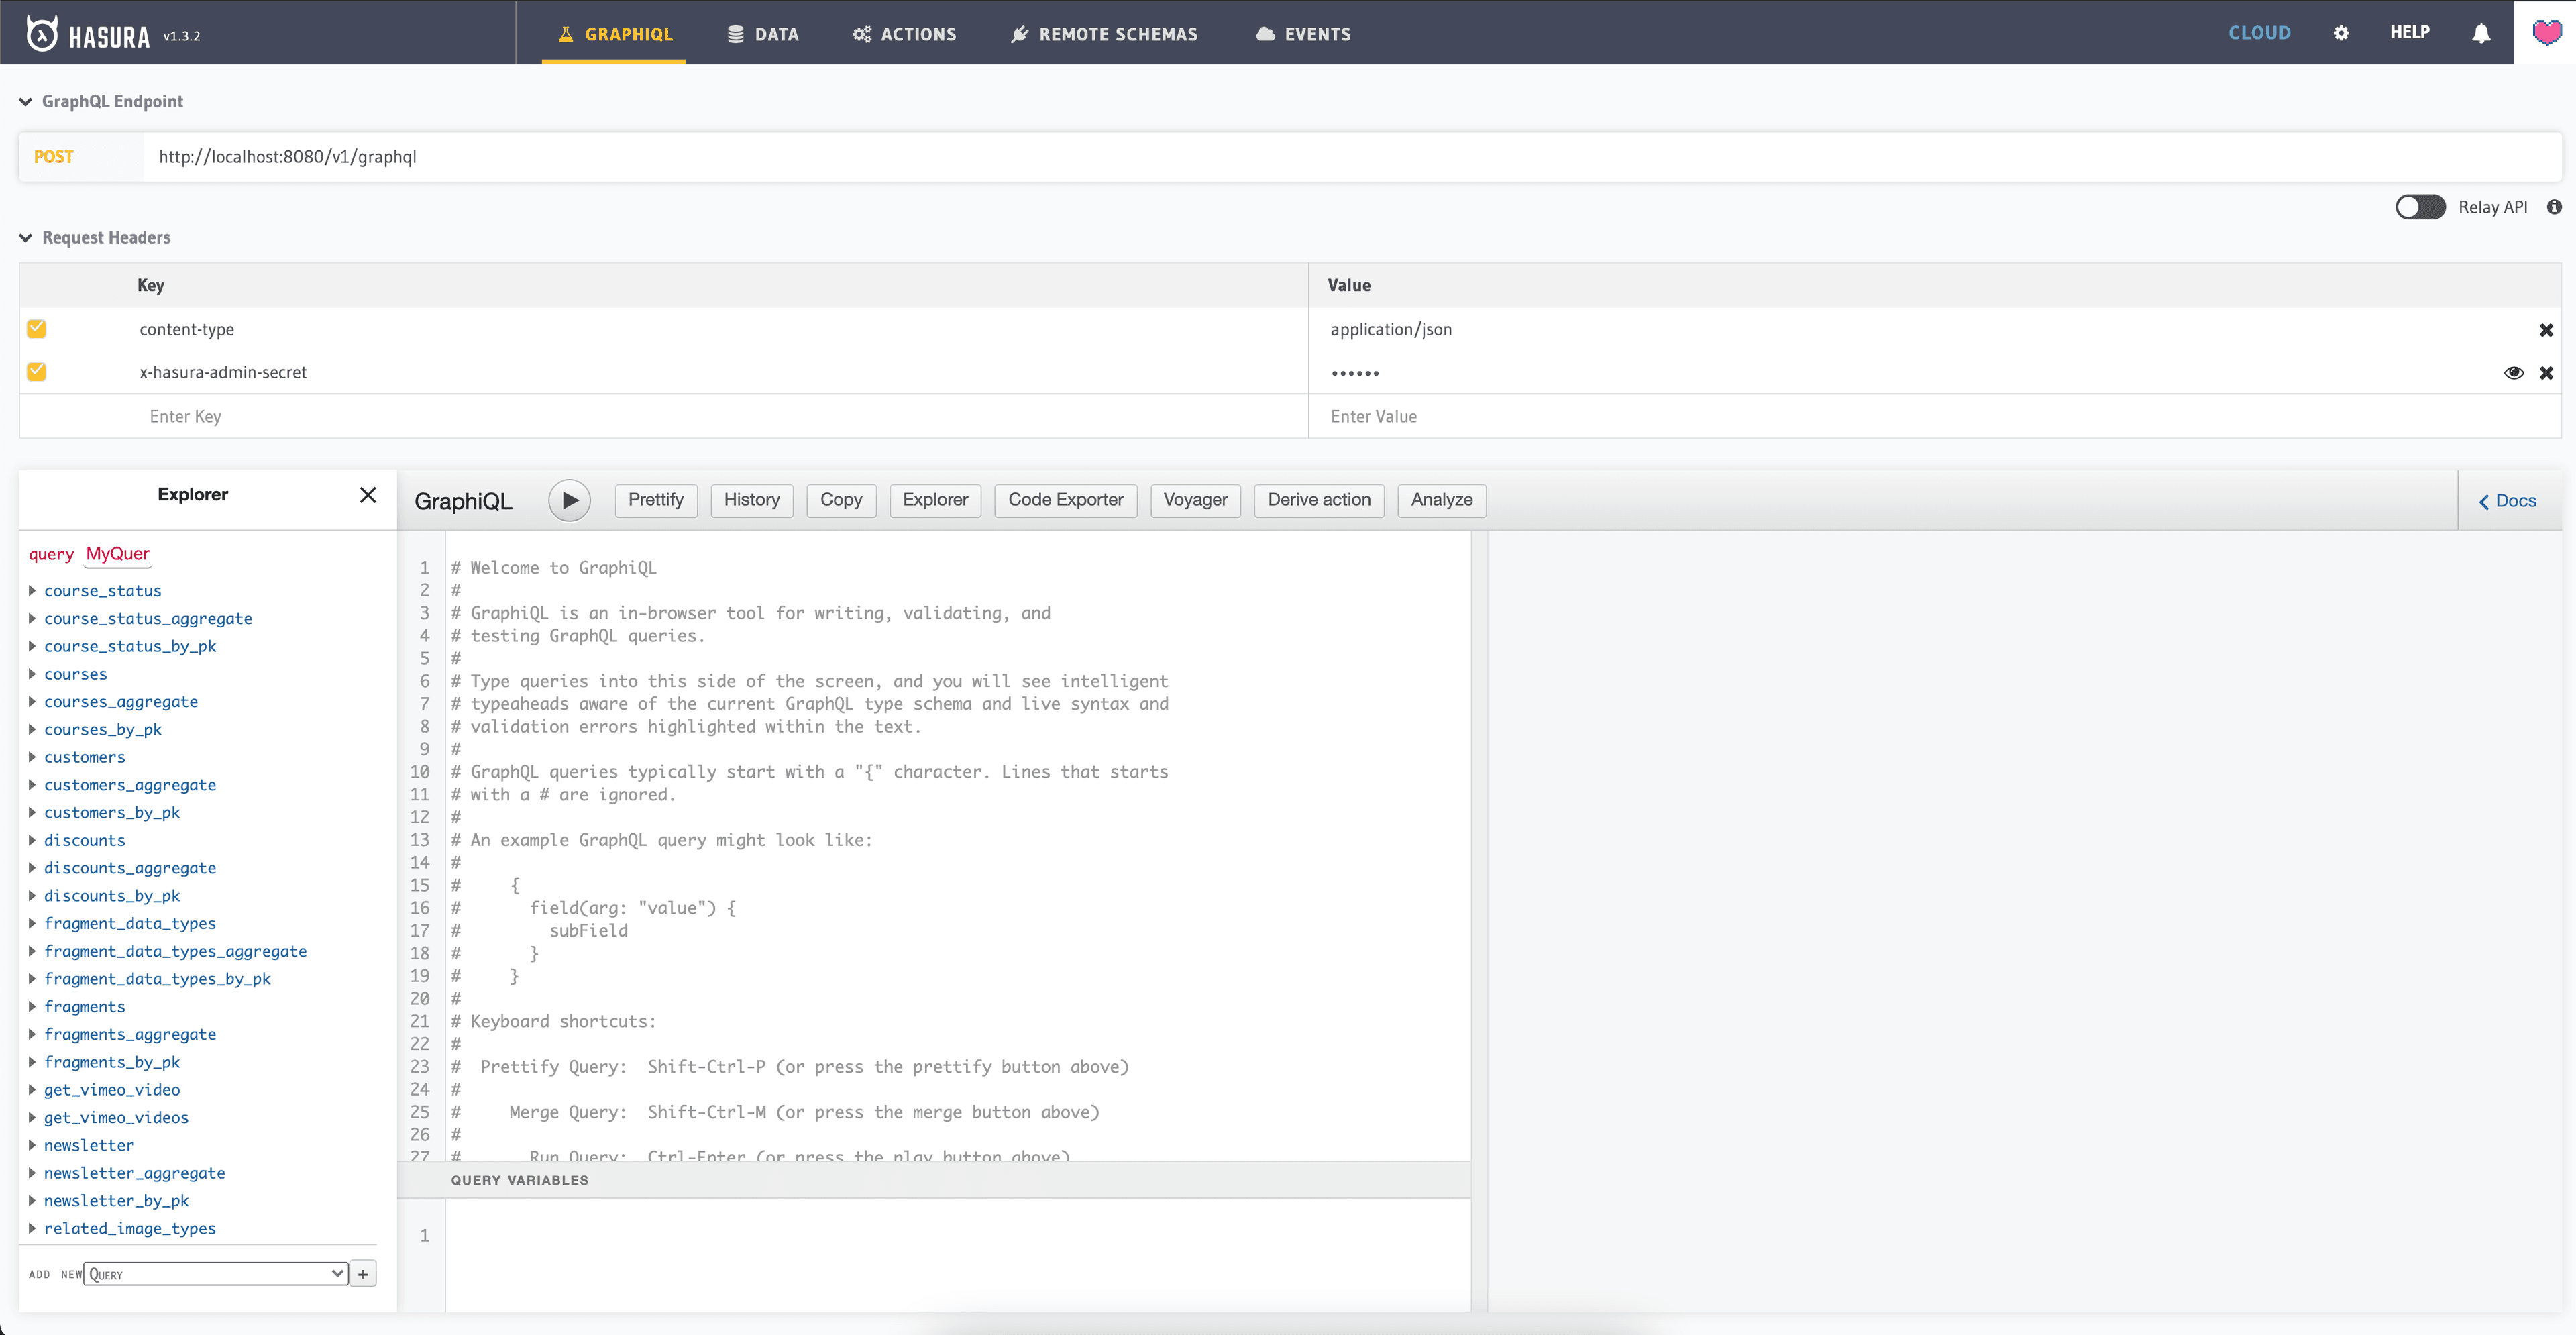
Then run hasura console and you will be greeted with the Hasura admin console ready to start your next project.